Resetting and Preparing Your Flower Tent
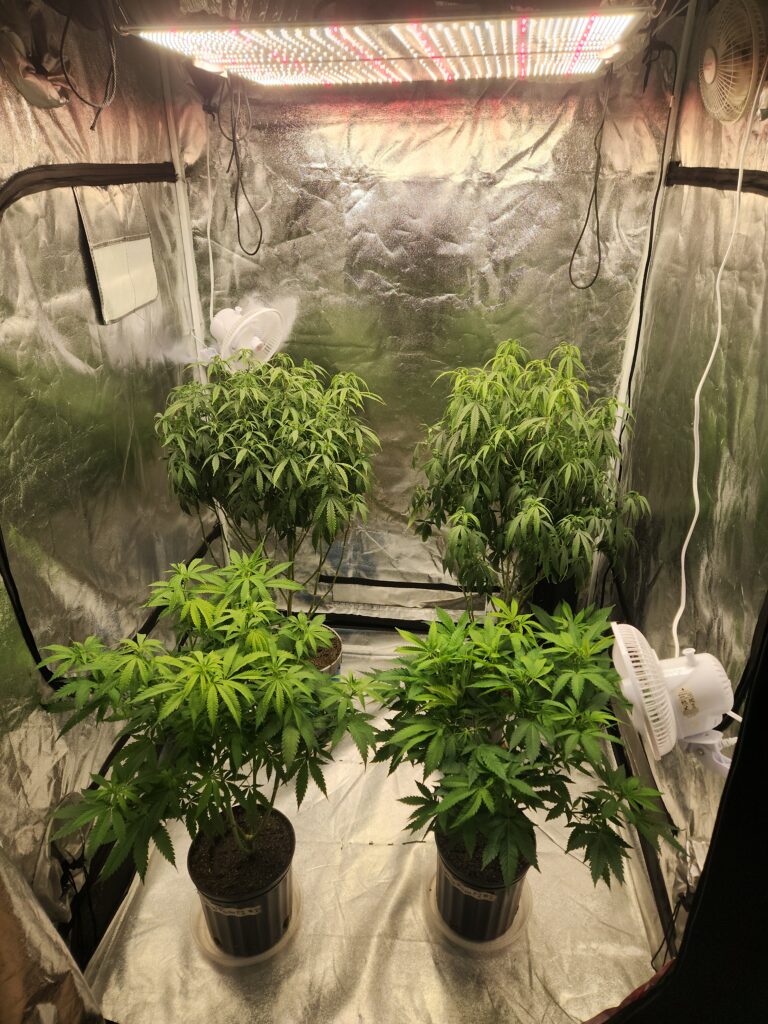
Introduction:
Once you have harvested your last crop, your duty for the next crop begins with resetting and deep cleaning your flower tent. As a passionate grower, maintaining sanitization and cleanliness in your grow space will be crucial to overall health and yield possibilities with each grow cycle. Whether you are a seasoned grower with a routine or a new grower after your first successful harvest, I will take you through my reset and deep-clean routine.
In this comprehensive guide, we will cover how to systematically tidy and deep clean your grow tent so that you cover every aspect of the grow. Starting from the bottom, working towards the top, and finally back down to the floor, this method involves whipping down every surface within the tent twice.
Once everything has been cleaned and prepared for the next batch of plants, we will quickly check our growing equipment and swap out any broken or under-powered equipment for the best available. Taking the time to clean and sanitize your equipment and then maximize the environment will be vital in helping you achieve a successful and bountiful harvest.
Step 1: Clean and Sanitize Your Flower Tent:
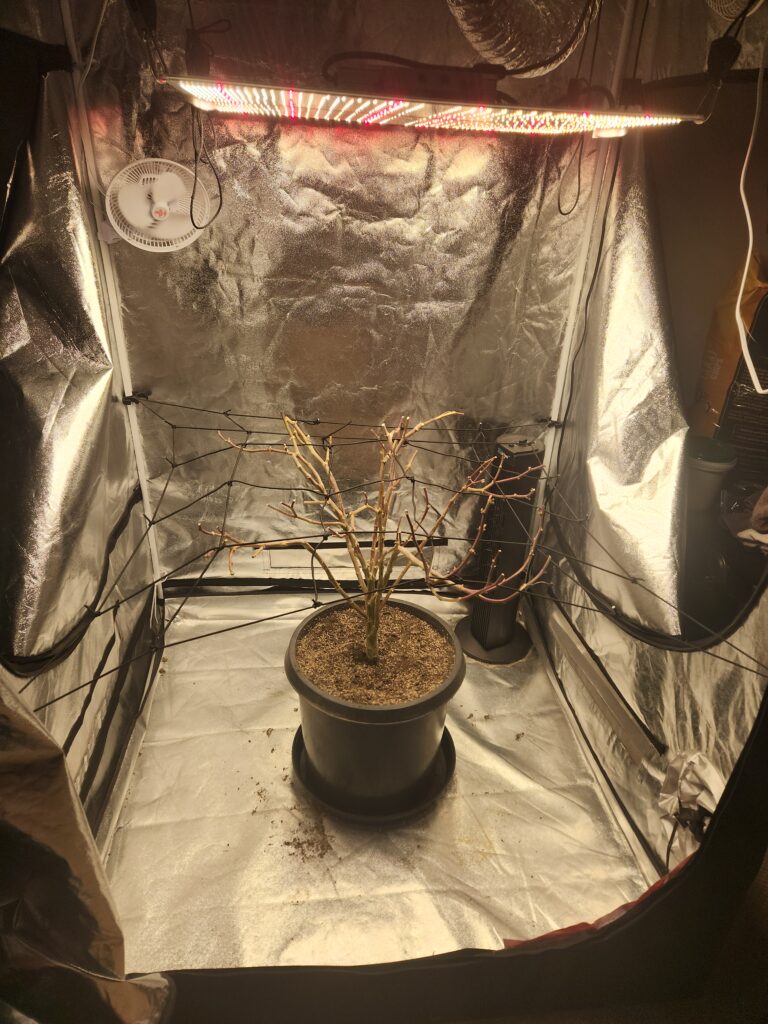
Before beginning a new grow cycle, it’s crucial to thoroughly clean and sanitize your flower tent to remove any traces of contaminants or pathogens that could compromise plant health and productivity. The cleaning agents I will be utilizing during this process are acquired from Melaleuca; these products provide a natural alternative. The tea tree oil within the cleaners helps disinfect your plants from spores, moulds, mildew, and other plant diseases while killing spider mite eggs, larvae, nymphs, and adults. By incorporating these products into my cleaning routine, I can clean the tent deeply and transfer my plants into the freshly cleaned growing space.
Here’s how to do it:
Clean the Tent Base
 The foundation of a healthy growth cycle begins with a clean and sanitized tent base. Use a vacuum to remove the growing medium and plant material collected at the tent’s bottom. Next is warm water and a scrub brush to remove stains and messes from water runoff or splash over. This step ensures a clean environment for your plants and prevents the buildup of mould, mildew, and pests.
Wipe Down the Entire Tent with a Natural Cleaning Agent
Our next step is thoroughly cleaning the tent from the base to the roof using an all-purpose cleaner. I recommend incorporating a natural cleaner similar to the ‘Tough and Tender’ cleaner from Melaleuca enriched with tea tree oil for its antibacterial properties. This powerful all-purpose will help lift and pull up any grime, grit and residue built up over the past months of flowering. This leaves your tent clean and ready for a new batch of plants.
Enhance Reflectivity with a Glass Cleaning Agent
With the tent clean and ready for plants, our next step is to optimize the reflective power of the mylar grow tent. Starting with the roof and working my way to the floor. I followed up on the all-purpose cleaner with the ‘Reflective Power’ glass cleaner from Melaleuca. This secondary wipe-down helps eliminate any streaks and smudges for a sharp and highly reflective surface, maximizing the grow lights’ penetrability into the canopy.
 Clean and Prepare Fans and Growing Tools
After we take the time to prepare the tent itself, our next step will be to clean and organize all of our growing equipment and tools ready for the next batch of plants. Remove dust, debris, and residue from the fan blades and internal mechanisms. I’ll take my fans outside and blow the fan mechanisms and blades off with high-pressure air from a compressor before wiping them down with the same ‘Tough and Tender’ all-purpose cleaner used in Step 2. This helps prevent accidental pollen or contaminant exposure from fans in the clean tent. Airflow is one of the growers’ fundamental techniques for pest management and plant health, and this is a crucial step in resetting your tent.
Step 2: Assess and Upgrade Your Equipment:
Now that we have deep-cleaned and sanitized our grow tent, it is time to do our final checks and any necessary upgrades or replacements of equipment. As time passes, the quality and performance of your equipment will diminish until you have to replace it to maintain the optimized environment for your plants.
Consider the following:
Lighting:
If you have noticed that your growing light has become too dim or has a flicker that it didn’t have before, or if it’s just time to upgrade, now is the time. Without plants in the tent, you can safely hang and test your lights before moving them into this tent.
Ventilation:
Check your ventilation system, including exhaust fans, ducting, and carbon filters, to ensure proper airflow and odour control. Clean or replace filters as needed to maintain optimal air quality within the tent.
Climate Control:
Invest in a reliable temperature and humidity monitor to track environmental conditions inside the tent and make adjustments as necessary to create an ideal growing environment for your plants.
Nutrient Delivery:
Suppose you want to transition the nutrient system or style you are utilizing. This time allows you to consider upgrading to a drip irrigation system or automated nutrient dosing system to streamline feeding and watering your plants while minimizing the risk of overwatering or nutrient imbalances.
Step 3: Optimize Environmental Conditions:
Once we have taken the time to deep clean and test our growing equipment, we can focus on preparing the environment for the next set of plants. Optimizing your grow space’s environmental conditions before moving your plants will promote healthy growth and maximize yield. Here are some tips for optimizing environmental conditions:
Temperature:
To promote optimal growth and resin production, maintain a consistent temperature range of 70-85°F (21-29°C) during the flowering stage. To regulate temperature fluctuations, use a combination of ventilation, air conditioning, and supplemental heating as needed.
Humidity:
During the flowering stage, keep humidity levels between 40-50% relative humidity (RH) to prevent mold and mildew growth while ensuring adequate moisture for plant transpiration. Use dehumidifiers or humidifiers to adjust humidity levels as needed.
Air Circulation:
Ensure proper air circulation inside the tent by strategically positioning oscillating fans to promote even airflow and prevent stagnant air pockets. This helps strengthen plant stems, prevent mould, and distribute CO2 evenly to all parts of the canopy.
Conclusion:
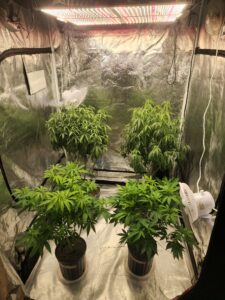 The time between your last harvest and the start of your next grow cycle will be just as busy and require the same amount of attention to detail and careful planning as with any stage involving plants. Properly sanitazing and resetting your grow tents will be crucial to allowing your next batch of plants to be as successful as the last. Without taking the time to deep clean your tents and growing space, you are inviting possible infestation or infection.
With proper dudiligents and a systematic approach to your cleaning methods you will find repeated success. Being sure that you monitor your plants closely during the entire flowering stage will help you keep ahead of any equipment failures or upgrades that need to be organized for the next tents reset. With the right environmental controls and a proper feeding schedule you will be able to harvest high quality cannabis year round.
